Posted on

Olive Tree Care

Olive trees are among the oldest cultivated trees in the world, valued not only for their delicious fruit but also for their many decorative properties. With their silvery foliage, bony stems and fragrant clusters of white flowers in spring, these exceptional plants are the focal point of a beautiful garden in all seasons.
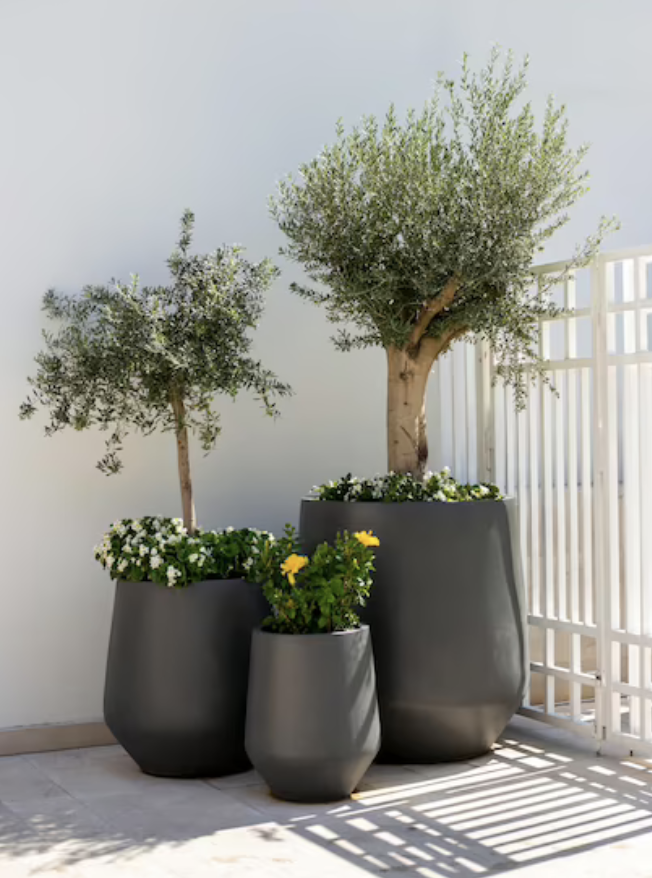
Location
Choose a sunny, well-drained location for olive trees. They need at least six hours of direct sunlight each day.

Soil preparation
Improve the soil with organic matter, ensuring good drainage. Olive trees prefer slightly alkaline soil with a pH between 6 and 8.

Growing process
Dig a hole slightly larger than the root pot and place the plant so that the graft or graft is above the soil surface. Fill the hole and water thoroughly.

Watering
Olive trees are drought tolerant once planted but need regular watering for the first few years. Water thoroughly, allowing the soil to dry slightly between waterings.

Fertilization
Apply a balanced slow release fertilizer in early spring. Avoid excess nitrogen as this can negatively affect fruit production.

Pruning
Prune olive trees in late winter or early spring to remove dead, damaged, or crossed branches. Maintain an open central structure to promote air circulation and sunlight penetration.

Harvest
Olives ripen in late Autumn or early winter. Harvest them when the color changes from green to purple-black.

Pests
Common problems include olive flies, scaly insects, and fungal diseases. Monitor regularly and use organic pest control methods or consult a professional if necessary.

Frost Protection
Olive trees are susceptible to frost damage, depending on your location you can use frost blankets or wraps during the winter to protect young plants or specimens during the winter

Posted on

Boston Fern Care

The Boston fern is one of the most popular and recognizable ferns. It loves moisture and moist environments, which makes it an ideal plant for your bathroom. To give you the best chance at caring for your Boston fern, we’ve broken down the care process into different steps below.

Light
The Boston fern will love a well-lit room with light medium/light. Be very careful, never to place the Boston fern where it can receive any form of direct sunlight. Its leaves are very sensitive and will burn even under morning or evening sun.

Watering
The Boston fern likes his soil to stay moist, never letting it dry out or get too soggy. Water several times in the summer and once a week in the winter. Always test the soil before watering to make sure it’s not too wet. To keep the soil moist, make sure you never put drainage material in the soil like perlite or bark. This plant likes to conserve soil moisture.

Humidity
The Boston fern needs a very humid environment. It grow well in bathrooms where it can take advantage of high humidity. If in a bedroom or living room, place a humidifier next to it or use a cobblestone tray filled with water to help increase humidity.

Temperature
The ideal indoor temperature for Boston ferns is between 15 and 24 ºC. As long as the temperature inside doesn’t drop below 15°C, it will be happy.

Fertilizer
Fertilize every 4 weeks, using a half-concentration formula for the months of March through September. Do not fertilize during the winter months.

Re-potting
Boston ferns need to be re-potted every 2-3 years. Check for any roots protruding from the bottom of the nursery pot, this is a sign that it needs re-potting.

TROUBLESHOOTING

Brown Head – This could be due to two reasons
Check its exposure to direct sunlight. Any direct sunlight can burn its leaves.
Brown head is also a sign of lack of moisture.  Boston ferns like a very humid environment. You can place it in the bathroom or next to a humidifier to help increase its humidity.

Yellow leaves – Yellow bottom can be a sign of over watering. Boston ferns need moist soil. Leaving the soil too wet for a long time can lead to yellowing of the leaves.

Posted on

Pothos Plant Care

golden pothos in black pot

Pothos, Devil’s Ivy or Epipremnum aureum, has a reputation as one of the easiest houseplants to care for and is perfect for beginners. Pothos is particularly suitable for indoor environments because it is capable of filtering gaseous toxins such as formaldehyde from the air. It is a climbing species native to Southeast Asia and due to its aerial root system, it is known to invade forest floors and tree trunks.

Sunlight
Pothos plants thrive in bright indirect light, but they can tolerate moderate to low indirect light, such as in north-facing homes or during colder seasons with short days. This plant is not suitable for strong, direct sunlight, which will burn and brown its leaves.

Water 
Water your Pothos every 1-2 weeks, letting the soil dry out between waterings. Expect watering more often in brighter light and less often in dimmer light. Some signs of overwatering include yellowing leaves and black stems, while plants under water will wilt and potting soil will dry out.

Humidity
Pothos can do well in normal to dry air, but if you want them to really feel at home, you can increase the humidity: aim for 50-70%.

Pests
If you happen to encounter houseplant pests, treat them as soon as they appear with a weekly spray of natural insecticides like neem oil. You can also incorporate a well-draining potting mix, adding ingredients like perlite to enhance aeration.

Toxicity
Pothos can be irritating to cats, dogs, and humans if the leaves are eaten. We recommend keeping houseplants out of the reach of small children and pets.

Posted on

Pilea Plant Care

The Pilea Pepermioides also commonly called “The Chinese Money Plant” is native to southwest China. It is a distinctive plant with saucer-shaped leaves growing from the plant canopy. Pilea plants are easy to care for and propagate, although the seedlings growing from the mother plant are slow to grow – it’s worth it! Since the Chinese money plant does not grow too high (approx. 20-30 cm), it is suitable as a container plant. The Chinese money plant is a fast grower and can double in size every year with the right amount of light. If you want to accelerate the rapid growth, you can repot the plant in a pot 2-5 cm higher or fertilize regularly.

Pilea Care Instructions

Light: Keep the Chinese money plant in plenty of indirect light. Make sure you keep it out of direct sunlight as it can burn the leaves.

Water: Keep the soil slightly moist and do not leave it standing in water to avoid over-soaking. Especially in the colder months, you can let the soil dry out a bit between waterings.

Humidity: The average room humidity is good. However, if you notice that the edges of your leaves are crunchy or “burnt,” you need to increase the humidity.

Temperature: The Pilea plant does not like temperatures below 10°C, the optimal temperature is between 13°C and 30°C . Make sure that the temperature is not too high.

Soil: Use a well-draining, all-purpose soil so that the plant does not become too wet after watering.

Fertilizer: Fertilize once a month in spring and summer. You should also feed the plant when the mother plant produces young plants.

Toxicity: The Chinese money plant is a non-toxic plant.

Posted on

Top Plant Puns – We are succas for them.

Plant puns are so ferny! If you’re a sap for plant puns like us and need some funny message inspiration, check out our Top Plan Puns below.   We are succas for them.

Don’t stop be leaf ing

You grow girl

Aint nobody got thyme for that

Mint to be

I’m rooting for you

Sometimes I wet my plants

Aloe you vera much

I dig you

Long thyme no see

You had me at aloe

Life would succ without you

Good chives only

Aloe-lujah

I’m kind of a big dill

Don’t leaf, I’m just having a little fern

Plant one on me

Happy Birthday! I hope it doesn’t succ

I’m very frond of you

Posted on

Top Low Light Plants

Top Low light plants
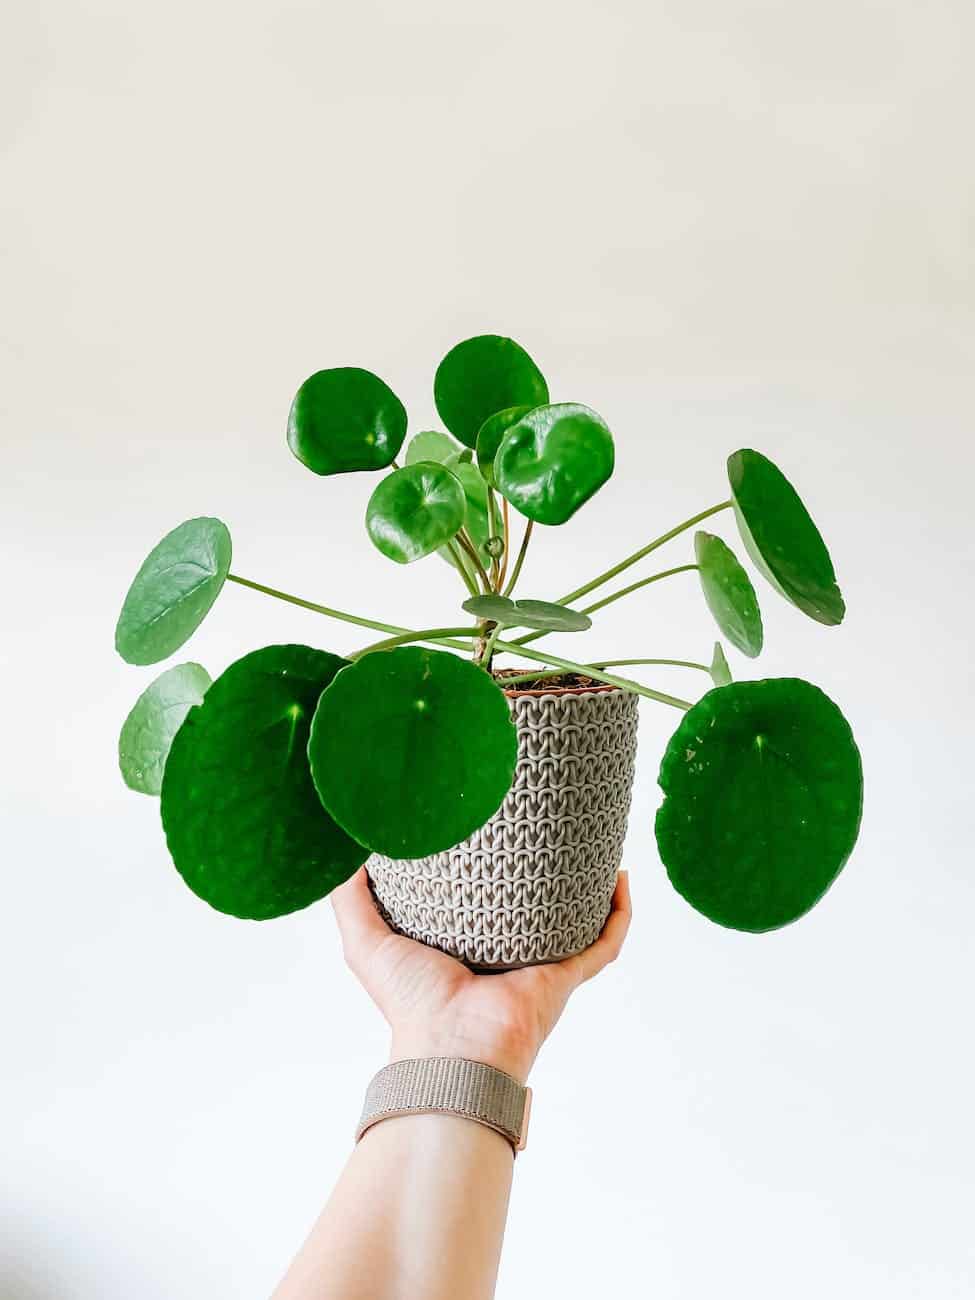
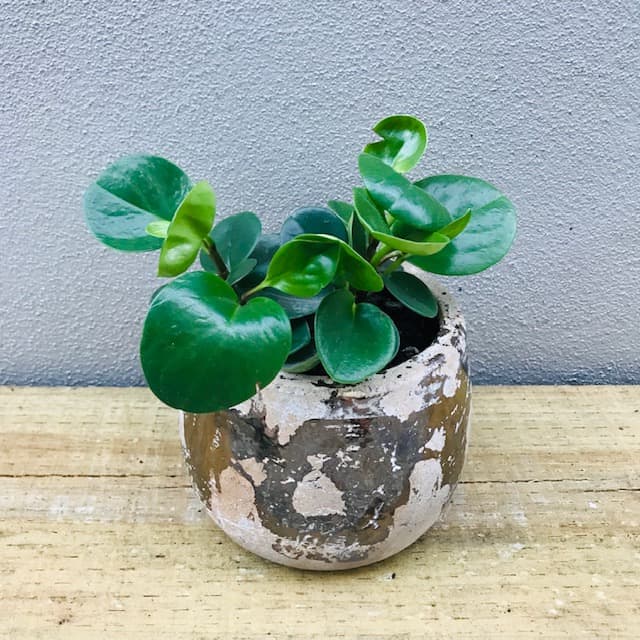
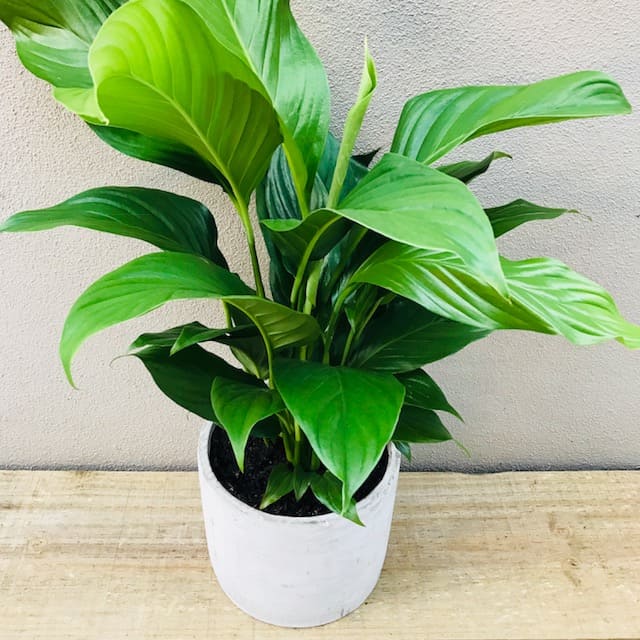
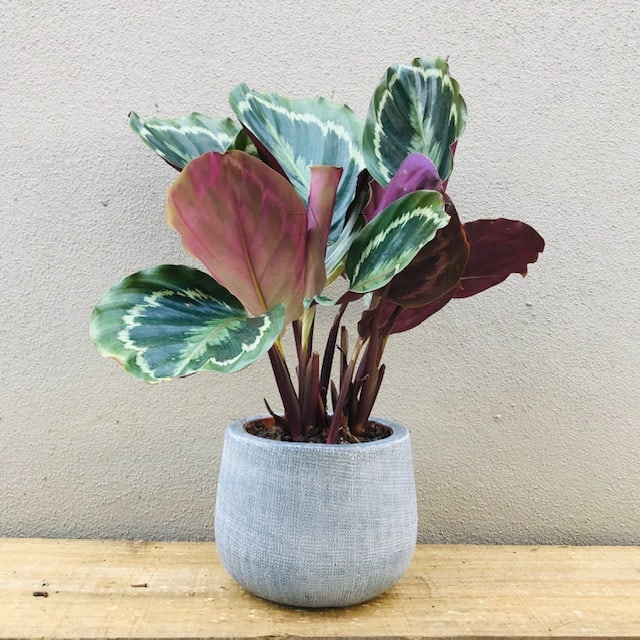
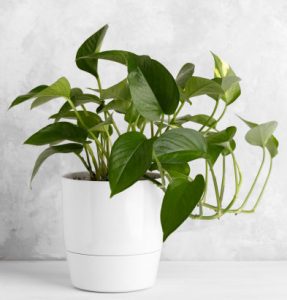
Many apartment or smaller rooms without windows that lack natural light can make it hard to be a successful green thumb.

There are some beautiful house plants that will adapt and will tolerate low light. We have picked out our top two low light plants that will brighten up in any dark corner in your home or office.

Low light does not mean no light at all. Low light is when your plant is positioned several feet away from a light source and gets no direct light. A room does not have to have a window in order for a low-light plant to survive. If the plant has some kind of artificial light it should survive just fine.

You probably know that plants need sunlight, water and soil to grow, but what do they feed on? Plants make their own food. They use sunlight, water and gases in the air to make food, a process called photosynthesis.

Not many plants like low light as sunlight is one of the key factors for its survival. We have found a few that will happily survive and thrive in low light parts of your home. Here are our top picks.

1. Pothos
The Pothos plant is native to China, the Indian Subcontinent, Australia, New Guinea, Southeast Asia, and various islands of the Pacific and Indian Oceans.
It is an attractive, hardy, cascading plant that has a reputation as the easiest houseplant to grow. The Pothos plant commonly known as Devils Ivy plants thrive in both bright light and low light situations and don’t need any specific care. Their ideal environment is medium light and when in low light their leaves may be darker green in colour. Pothos can be grown in soil or water.

2. ZZ Plant 
The ZZ Plant also called the Zanzibar Gem is a tropical perennial plant native to eastern Africa.  It has adapted to survive drought and low light and has a rather unique looking root system. The ZZ Plant has thick, potato-like roots known as rhizomes where it stores water during dry periods making it a very resilient house plant. The ZZ plant prefers medium light but will tolerate low light very well.

Posted on

Peperomia Plant Care

Peperomia’s are compact, low maintenance plants with round, thick glossy leaves. They make wonderful office desk plants and shelf fillers as they are compact and will only grow up to 30cms tall.

Position – Indoors in a bright well lit spot. Peperomia’s will tolerate low light.

peperomia in cement pot with gold

Sunlight – Keep out of direct sunlight.

Water – Allow the top few centimetres to dry out before watering. Peperomia’s do not like to be water logged.

Humidity – Will be tolerate most indoor temperatures.

Other Names – Baby Rubber Plant

Tip – For more compact, bushier plants, regularly pinch out the stem tips.

Posted on

Peace Lily (Spathiphyllum) Care Instructions

Peace Lily Care
Peace Lily (Spathiphyllum)

Position

Indoors in a warm spot away from direct sunlight. Peace Lily’s are suitable for darker rooms as they have the ability to handle low light.

Sunlight

Indirect light to dappled sun. Not suited for intense, direct sun.

Water

The Peace Lily needs regular watering. Keep soil moist at all times but not soaking. If it is in need of water the leaves will begin to droop slightly. Reduce the watering in the cooler months.

Humidity

Likes humidity. Keep in a warm environment.

Origin

Native in the tropical rainforests of Colombia and Venezuela.

Other Names

Spath

Tips

Regularly remove dead leaves and flowers.

Posted on

Calathea Plant Care

Position

Calathea in Grey Pot

Indoors in a bright well lit spot away from direct sunlight.

Sunlight

Indirect light to dappled sun. Not suited for intense, direct sun.

Water

Keep soil moist, not soaking especially during the summer months. During the cooler months, let the soil almost dry out before watering again.

Humidity

Likes humidity. Mist leaves every couple of weeks especially during dry conditions.

Origin

Calathea’s are native of South America.

Other Names

Peacock Plant, Zebra Plant or Rattlesnake Plant


Posted on

How to Care for Kokedama

Caring for your Kokedama is easy.  Follow these steps to keep your Kokedama healthy and content.

1. Feel the weight of the Kokedama. If it feels light in weight it’s time for watering. (Generally, succulent Kokedama’s will only require watering every few weeks).

2. Place the Kokedama in an empty container and gently fill it with room temperature water so it covers 1/3 to 1/2 of the Kokedama ball.

3. Let the Kokedama sit for approximately 10 minutes to absorb the water.

4. Remove the Kokedama from the container and drain excess water for a few minutes. When it has finished dripping it is ready for display.

5. Keep your Kokedama in a well lit bright position until you water again.

Tip for succulent Kokedama’s – When in doubt it is better to under water than over water. Succulents are hardy, require little moisture and prefer dry conditions.